
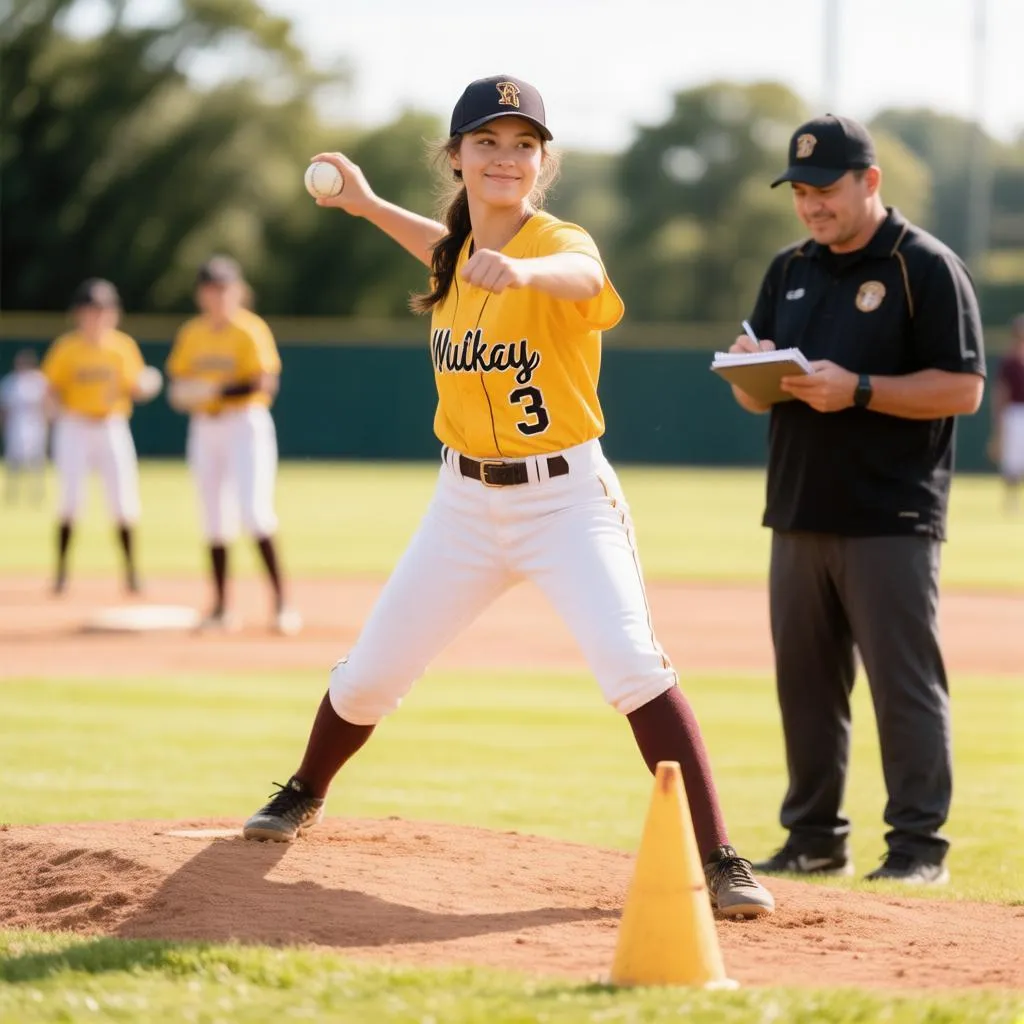
Every softball team lives and dies by its pitching. A young player who can consistently throw strikes changes the entire feel of a game, and the fastest way to get there is not raw arm strength but repetition with purpose. Below is a full breakdown of the drills, fundamentals, and practice habits that turn a nervous first-year pitcher into a reliable one.
Why accuracy comes before speed
Beginners often chase velocity because fast pitches look impressive, but coaches consistently preach the same lesson: control first, speed later. A pitcher who throws 40 mph with accuracy is far more valuable in a youth game than one who throws 50 mph and walks batters. Accuracy is built through mechanics, balance, and muscle memory, all of which develop through focused repetition rather than maximum effort. When a young pitcher slows down and concentrates on where the ball ends up, the body learns the correct motion, and speed naturally follows as strength and coordination improve.
The building blocks of a repeatable motion
Before jumping into specific drills, it helps to understand what a fundamentally sound pitch looks like. Every windmill delivery, no matter the style, shares a few core elements:
- A strong, straight back leg that drives the body toward the plate
- A smooth arm circle with a relaxed wrist at the top of the motion
- Open hips at foot strike, allowing the arm to pass cleanly through the zone
- A firm front leg and follow-through that finish balanced, not falling sideways
- Consistent release point at the hip, the same spot on every single throw
If any of these pieces breaks down, accuracy suffers immediately. The drills ahead are designed to isolate and strengthen each of these components one at a time, which is exactly how beginners should practice: master the pieces, then put them together.
Essential drills for the beginner pitcher
The following progression moves from the simplest motions to full pitches. Young pitchers should spend several sessions on each stage before moving on, and practicing in this order prevents bad habits from forming.
- Wrist snaps — Standing with the pitching arm bent at the elbow, the pitcher flicks the ball forward using only the wrist and fingers. Ten to fifteen repetitions teach the feel of the final release, which is where spin and direction are decided.
- T drill — With the arm out to the side and the glove arm pointed at the target, the pitcher brings the arm down through the delivery without a full circle. This builds a clean, straight arm path toward the strike zone.
- Arm circle drills — Pitchers perform full windmill rotations without releasing the ball, focusing on a relaxed arm and a loose wrist at the top. Adding a ball later keeps the shoulder healthy and grooves the motion.
- K position drill — From a stride position with the front foot planted and arms forming a letter K, the pitcher finishes the pitch. This isolates the moment of foot strike, the most important instant in the delivery.
- Flamingo drill — Balancing on the back leg with the front knee raised, the pitcher drives forward and completes the pitch. It develops the leg strength and balance that keep pitches consistent late in a game.
- Full motion at half speed — Once each piece feels natural, the pitcher combines everything at a slow tempo, then gradually increases speed while keeping the same form.
- Target pitching — Using a strike zone taped on a wall, a net, or cones on a plate, pitchers throw full pitches with the only goal being location. This is where control becomes automatic.
Working through this sequence two or three times a week is plenty for a beginner. Sessions should be short and focused rather than long and sloppy, because tired arms and tired minds are where bad mechanics sneak in.
A simple practice plan to follow
Structure makes practice productive, and a written plan keeps a young pitcher from wandering into the same comfortable throws every session. A good beginner week balances mechanics, accuracy work, and rest:
| Practice focus | Time per session | Frequency | Main goal |
|---|---|---|---|
| Warm-up and wrist snaps | 10 minutes | Every session | Loose arm and clean release |
| Isolation drills (T, K, flamingo) | 15 minutes | 2–3 times weekly | Sound mechanics |
| Full-motion pitching | 15–20 minutes | 2–3 times weekly | Repeating the delivery |
| Target and location work | 10 minutes | 2 times weekly | Hitting spots in the zone |
| Rest and light stretching | — | At least 2 full days weekly | Recovery and injury prevention |
The percentages matter more than the exact minutes. Beginners should spend more total time on isolated mechanics than on full-speed pitching, because a flawed delivery practiced at game speed only deepens the flaw. As accuracy improves, the balance shifts naturally toward location work and live situations.
Common mistakes that stall progress
Even with good drills, certain habits appear in almost every beginner and quietly undo weeks of practice. Watch for these during every session:
- Rushing the motion to throw harder, which destroys timing and location
- Dropping the elbow during the arm circle, changing the release angle
- Leaning or falling forward instead of staying balanced over the back leg
- Stepping off-line toward first or third base instead of straight at the target
- Practicing only full pitches and skipping the isolation work that fixes individual problems
Each of these errors is easy to correct when caught early and very hard to fix after a full season of repetition. A parent or coach standing behind the pitcher during practice sessions can spot most of them in a single afternoon, which is why feedback beats volume every time.
Building control under pressure
Once a pitcher can locate the ball in practice, the next challenge is doing it when it counts. Game situations bring nerves, and nerves tighten muscles and speed up tempo. Simulating pressure during practice helps: pitchers can throw to a target with a consequence, such as starting a new set after missing the zone twice, or pitch to live batters in low-stakes scrimmages. Breathing slowly before each pitch and establishing a consistent pre-pitch routine, like the same two breaths and glove tap every time, gives a young player something stable to lean on when the game speeds up.
Gear that supports young pitchers
Pitchers do not need expensive equipment, but a few items make practice safer and more productive:
- A properly sized ball matching the player’s age division, since an oversized ball promotes poor grip habits
- A bucket of balls so practice time goes to pitching instead of chasing throws
- A target net or strike zone cloth that gives instant visual feedback on location
- A pitching lane or chalk line to keep the stride straight toward the plate
- A comfortable glove small enough for quick transfers but large enough for the position
None of these needs to be costly, and a backyard with a net and a bucket of balls is enough to build a genuinely good pitcher over the course of a season.
Keeping the long view
Improvement in pitching is slow, measurable, and deeply rewarding. Rather than judging progress by strikeouts, beginners and parents should track simple markers: how many strikes out of twenty pitches, whether the arm circle feels smooth, and how balanced the finish is after each throw. Small, steady gains in these areas add up to confidence on the mound, and confidence is what allows a young pitcher to throw the pitch the team needs in the moment it matters most.