
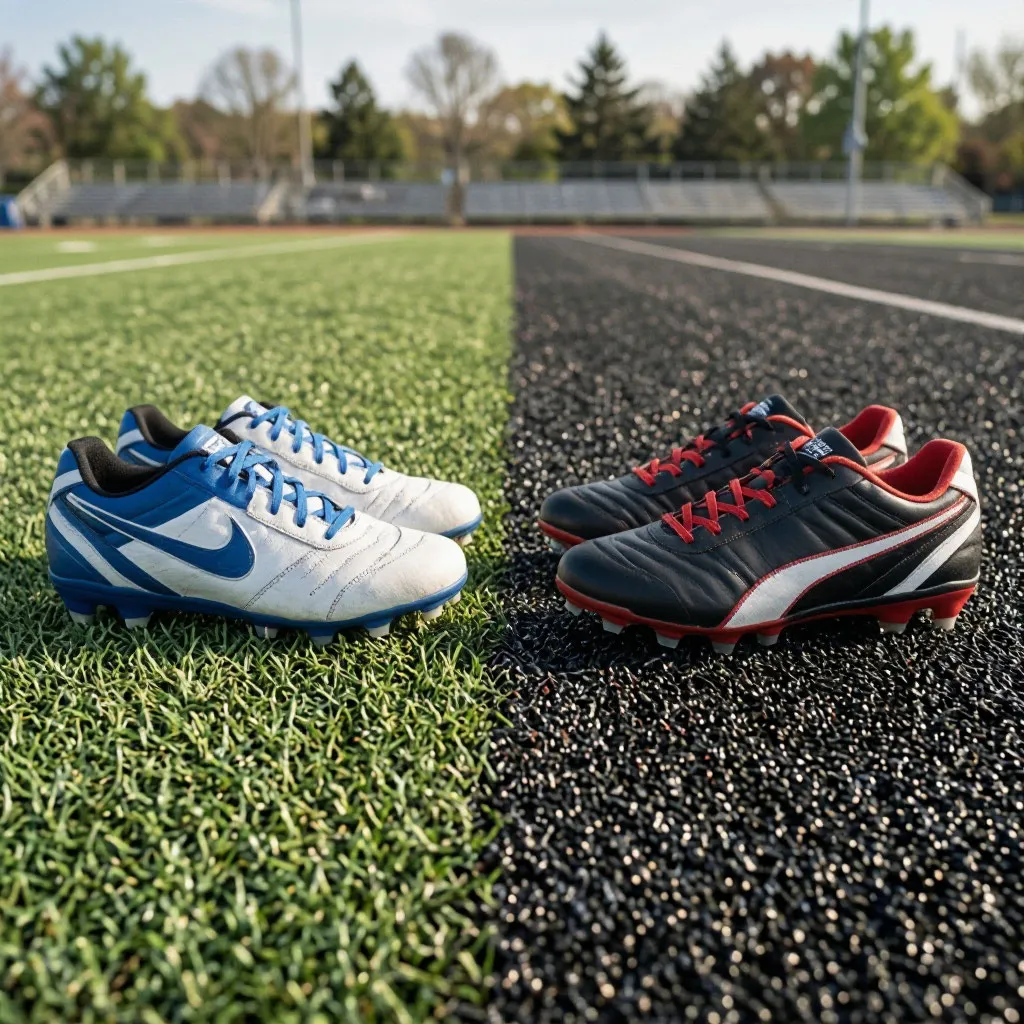
Every baseball parent in Gahanna knows the feeling: your child rounds first base, hits the dirt sliding into second, and either grips perfectly or slips like they are on a frozen pond. The difference between a clean slide and a face plant often comes down to one piece of equipment that most parents underestimate — the cleat. Buying the wrong type of cleat for the surface your child plays on does not just hurt performance. It increases the risk of rolled ankles, knee strain, and the kind of confidence-killing falls that make a young player hesitate the next time the coach says “go.” Gahanna’s sports infrastructure includes both natural grass fields at McCorkle Park and the Gahanna Sports Complex, plus newer turf installations at Wexner Fields in neighboring New Albany where many Gahanna travel teams compete. That means a single pair of cleats rarely covers every surface your child will encounter in a season.
This guide walks through everything a parent needs to know about selecting baseball cleats that work across Gahanna’s specific field conditions. It covers the difference between molded and metal cleats, how turf and grass demand different stud configurations, what to look for in sizing and fit, how much you should actually spend at each age level, and which features matter versus which are marketing noise designed to separate you from your money.
Understanding the surfaces: grass, turf, and the Gahanna reality
Before choosing a cleat, it helps to understand what your child is actually running on. Gahanna’s recreational baseball fields are predominantly natural grass — Kentucky bluegrass and perennial ryegrass blends that hold up reasonably well through spring but turn hard and patchy by mid-summer. The Gahanna Sports Complex on Johnstown Road features four diamonds with grass infields and grass outfields, meaning players navigate dirt base paths and grass outfield positions in the same game. McCorkle Park offers a similar grass surface with slightly softer soil composition due to its location near the creek floodplain.
The turf situation is different. When Gahanna travel teams participate in inter-league tournaments against New Albany and Westerville, they frequently play on Wexner Fields in New Albany, which features professional-grade artificial turf with rubber pellet infill. Turf plays faster than grass, holds heat in direct sun, and interacts with cleats in a fundamentally different way. A cleat designed for soft grass can grip too aggressively on turf, causing the foot to catch instead of release — a leading cause of non-contact ankle and knee injuries in youth baseball. Conversely, a turf-specific cleat on wet grass offers almost no traction, turning a routine ground ball into a skating exercise.
Molded, metal, and turf shoes: what each one does
The three main categories of baseball cleats serve different purposes, and understanding those differences is the foundation of making the right purchase. Molded cleats feature permanent plastic or rubber studs attached to the outsole. They are the most common and versatile option for youth players, legal in virtually all recreational leagues, and appropriate for both grass and turf surfaces with some limitations. Metal cleats have steel or aluminum spikes that penetrate natural grass and dirt for superior traction. They are banned in most youth recreational leagues below the high school level but are standard in competitive travel baseball and high school play. Turf shoes feature dozens of small rubber nubs across the entire sole, designed specifically for artificial surfaces and indoor training facilities.
Choosing the right cleat type depends on your child’s age, league, and the surfaces they play on most frequently. Each type has distinct advantages and limitations that directly affect safety and performance.
| Cleat type | Best surface | League legality (youth) | Durability | Price range | Best for |
|---|---|---|---|---|---|
| Molded (plastic studs) | Grass and dirt | Legal at all levels | 1-2 seasons | $35–$90 | Recreational players, multi-surface use |
| Metal (steel spikes) | Grass and dirt only | Banned under 13U in most rec leagues | 1-2 seasons | $60–$140 | Travel players 13+, high school athletes |
| Turf shoes (rubber nubs) | Artificial turf, indoor | Legal everywhere | 2+ seasons | $40–$80 | Tournament play on turf, practice, indoor training |
| Interchangeable | All surfaces | Depends on insert type | 2+ seasons (replaceable studs) | $80–$160 | Players who split time between grass and turf |
The breakdown above makes one thing clear: no single cleat type is ideal for every surface. If your child plays recreational baseball exclusively on Gahanna’s grass fields, molded cleats are the practical choice — affordable, legal, and effective. If they play travel baseball and regularly travel to turf facilities like Wexner Fields, a pair of turf shoes as a secondary option is worth the investment. Metal cleats should only be purchased when the child’s league explicitly permits them and when the child is old enough to handle the added responsibility — a metal spike planted in another player’s leg during a close play is a serious injury risk that coaches take seriously.
Sizing and fit: where most parents go wrong
Buying cleats that fit properly sounds simple until you factor in the reality that children’s feet grow in unpredictable spurts, baseball socks add bulk, and cleats fit differently than everyday shoes. The most common mistake parents make is buying cleats that are too large to “get a season out of them.” A half-size of growing room is reasonable. A full size or more turns the cleat into a sliding mechanism inside the shoe, which causes blisters, reduces traction because the foot moves inside the shoe rather than the shoe gripping the ground, and increases the risk of ankle rolls.
Proper fit means the heel is locked in place when the child walks and runs, the toes have a thumb’s width of space from the front of the cleat, and the widest part of the foot aligns with the widest part of the sole. Baseball cleats tend to run narrower than soccer cleats, which is a surprise to parents coming from the soccer world. If your child has a wider foot, look for brands that offer wide sizing — New Balance and Under Armour are known for accommodating wider feet, while Nike and Adidas tend to run narrower.
The following steps will help you get the right fit on the first try rather than after a painful lesson:
- Measure both feet standing up: children’s feet spread when bearing weight. Have your child stand on a piece of paper and trace both feet. If one is larger, size to the larger foot.
- Try cleats on with baseball socks: the thick cotton or synthetic socks worn during games add significant volume. Bring the actual socks your child will wear to the fitting.
- Check heel lock before leaving the store: have the child walk briskly and then jog in the cleats. If the heel lifts inside the shoe, the cleat is too large or too wide.
- Leave no more than a half thumb of growing room: a half-size of extra space accommodates a growth spurt without compromising fit. Anything more creates a safety hazard.
- Check the flex point: press the toe of the cleat upward. The shoe should bend at the ball of the foot, not in the middle. A cleat that bends in the middle lacks the support a baseball player needs during lateral movement.
- Replace mid-season if the foot grows: do not force a child to finish a season in cleats that have become too small. Ingrown toenails, blisters, and altered running mechanics are the consequences of squeezing growing feet into shoes that no longer fit.
Following these fitting principles prevents the most common foot problems young baseball players develop during a season. A properly fitted cleat should feel snug but not painful, supportive but not stiff, and should require no break-in period beyond one or two practices.
Age-specific recommendations: what to buy and when
The right cleat at age eight is not the right cleat at age fourteen, and the difference is not just about size. As children grow, their biomechanics change, their leagues change, and the demands of the game change. Spending top dollar on premium cleats for a seven-year-old who will outgrow them in four months is wasteful. Conversely, putting a competitive thirteen-year-old travel player in a budget cleat to save money is a false economy that can cost performance and invite injury.
Here is what to prioritize at each age and competition level:
- Ages 5–8 (T-ball and coach pitch): the only thing that matters is comfort and basic traction. Molded rubber cleats in the $35–$50 range are more than sufficient. Avoid metal at all costs — they are unsafe at this age and universally banned. Look for Velcro closures if the child cannot tie laces reliably.
- Ages 9–10 (kid pitch, recreational): molded cleats remain the standard. The $40–$70 range offers adequate quality and durability. Begin paying attention to arch support and heel cushioning, as children at this age start generating more force during running and cutting.
- Ages 11–12 (competitive recreational and entry-level travel): the $50–$90 molded range is appropriate for most players. Travel team members who play on turf regularly should add a turf shoe as a second pair. Avoid metal until league rules explicitly permit.
- Ages 13–14 (travel and middle school): this is where the investment decision matters most. If the child plays competitive travel baseball and the league permits metal, a quality metal cleat in the $80–$130 range is appropriate. If the child plays primarily on turf, invest in a high-quality turf shoe. Many parents at this stage buy both — molded for practice and grass games, metal or turf for specific situations.
- Ages 15+ (high school): metal cleats are standard and expected. The $90–$140 range offers the durability and performance high school play demands. At this level, replace cleats when the studs show visible wear, not when the child grows out of them — growth has slowed, but wear has not.
The progression from budget molded cleats to position-specific footwear mirrors the child’s growing commitment to the sport. Parents who match the investment to the child’s level of play avoid both overspending on a child who may lose interest and underspending on a player who needs better equipment to stay safe and competitive.
Features that matter versus features that are marketing
Walk into any sporting goods store and the wall of baseball cleats confronts you with a barrage of technology claims: carbon fiber plates, heel counters, moisture-wicking linings, rotational traction zones, and enough buzzwords to fill a marketing textbook. Some of these features genuinely affect performance and safety. Others are cosmetic additions designed to justify a higher price tag.
Features that genuinely matter for youth baseball players include adequate ankle support through a structured heel counter that prevents the foot from rolling during lateral cuts, cushioning in the heel and forefoot to absorb the impact of running on hard mid-summer dirt infields, a toe drag protector on the medial side of the cleat for pitchers and infielders who drag their toe during throwing motion, and breathable upper materials that prevent the foot from overheating during doubleheaders in July heat. Features that are largely marketing include exotic plate materials that claim to return energy — the marginal benefit is negligible for children whose body weight and running mechanics do not generate the force needed to activate the technology, celebrity endorsement branding that adds $20–$30 to the price without changing the construction, and stud count claims that suggest more studs equal more traction — the placement and shape of studs matters far more than the number.
Caring for cleats so they last
A quality pair of baseball cleats can survive a full season and sometimes two if they are maintained properly. The Ohio climate does not cooperate — spring rain turns fields into mud, summer heat bakes dirt hard, and the combination of wet and dry cycles degrades both the upper material and the stud base. The simplest maintenance routine takes five minutes after each game or practice and extends the life of the cleat significantly.
Remove mud and dirt from the studs immediately after playing, while it is still soft. Use a stick or a brush — not your fingers, not the garden hose at full blast, which can force water into the cleat’s internal structure. Wipe the upper with a damp cloth and let the cleats air dry in a well-ventilated area, never in direct sunlight or in a hot car trunk, both of which warp the sole and degrade the adhesive bonds. Stuff newspaper inside the cleats overnight to absorb moisture and maintain the shape. Never force dry with a heater or hair dryer. Check the studs periodically for looseness — on molded cleats, a loose stud means the cleat is nearing the end of its usable life. On interchangeable cleats, tighten or replace the stud. Store the cleats in a mesh bag rather than a sealed plastic bag, which traps moisture and promotes odor and material breakdown.
Making the final decision with confidence
Choosing baseball cleats for a child playing in Gahanna comes down to answering three questions honestly. What surface does my child play on most often? What does their league allow? What is their actual commitment level? A child playing recreational baseball on grass fields twice a week needs a solid molded cleat in the $40–$70 range, properly fitted, and maintained after each use. A travel player splitting time between Gahanna’s grass diamonds and New Albany’s turf needs two pairs — a molded cleat for grass and a turf shoe for artificial surfaces. A high school player needs metal cleats that fit precisely and are replaced when the studs wear down, not when the calendar says it is time.
The right cleat is the one that fits properly, matches the playing surface, is appropriate for the child’s age and league, and does not cost more than the situation warrants. Everything beyond that is noise. When your child slides into second base and pops up ready to run, the cleat did its job — and so did you.